Monthly Archives: August 2017
-
Posted: August 30, 2017Categories: ConnectorRead more »
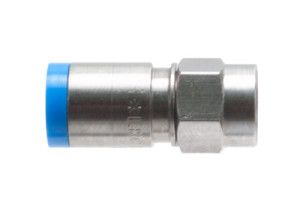
Belden compression connectors are a premium F type connector used to terminate RG6 cable,
including quad shield, tri-shield and 60% braid shield. They are quad sealed with rubber O-rings to prevent moisture from entering the cable.
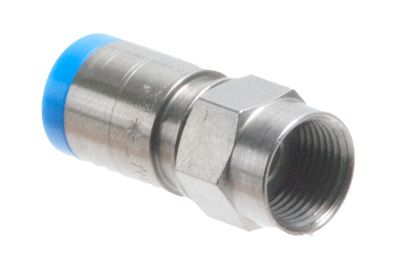
The snap and seal design allows them to be assembled more quickly than standard crimp connectors, although a compression tool,such as the IT-1000 Snap-N-Seal cable prep and terminate tool, is required. For more informationabout how to use these connectors, see the installation video below.
Features:
- Color coded with stamped part number for easy identification
- Blue sleeve
- UV resistant
- Sealed to prevent moisture
- Approved for DirectTV, Hughes Net, Dish Network
- 75 Ohm Impedance
- -30 dB loss at 1 GHz
- -90 dB RF shielding
- 40 pound minimum cable retention
- Brass, cadmium, chrome plating to prevent corrosion (NiTin)
- 360 compression keeps the connector firmly attached to the cable
SNS1P6 Installation Tutorial
To install the SNS1P6, you first need to prepare the cable. If you are not using the IT-1000 prep tool, then you will need to strip back 1/4″ of the center conductor and an additional 1/4″ of the jacket. If you are using the tool, insert it into the strip hole and rotate the tool several
-
Posted: August 29, 2017Read more »
Spring is a time for refreshing and rejuvenating our spaces. And while the oven could probably use a clean and your blinds really do need to be washed, it’s important not to forget about the pieces of technology that we use daily. Our phones, tablets and computers are our lifelines to the Internet, meaning we use them a lot. Here are 9 tips for keeping your gadgets clean and organized so that you can avoid getting sick and improve your functionality.

Tip 1) Recycle Unused Items
Do you have any outdated tech lying around that you know you’ll never use again? Or, maybe you have older stuff that you wish you could still use. Cleaning out the things that you don’t use will free up some office space! If you just can’t part with something out of date, chances are you can find adapters or converters to make it work. Otherwise, search online for a local place to recycle old computers and other gadgets. Before donating or recycling, be sure to delete all personal information and remove any batteries.
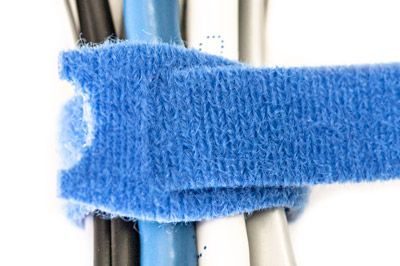
Tip 2) Organize Cables and Power Cords
Having a clear workspace can make a world of difference. Grab cable wraps or nylon cable ties to tame any loose cords. Label infrequently used items to make future use simpler. You can also make an enviable cable management system like this or that.
Tip 3) Get Rid of Germs
Our keyboards, phones and tablets come into close contact with our every day lives. And it’s been said that our cell phones carry more germs than a toilet seat, so it’s no surprise that they have made this list. Since using alcohol and ammonia on screens is damaging, you might opt for a cleaning kit like
-
Posted: August 29, 2017Read more »
ShowMeCables and our network cabling installation partners from INC Installs recently built out a new server room. We ran Cat6 cable for the main backbone. Everything was housed in two Middle Atlantic racks. We used ECore LED patch panels to connect the wire and used a variety of cable management products, including cable ties, Velcro, rear horizontal management, cable ladder and Neat Patch patch panels. Our installation team completed the project in a timely manner and did an amazing job. The installation made it easy to administer the network and keep it running. If you need help with a build out, contact our partners at INC Installs. Or, if you prefer a more DIY approach, you can stock up on materials at ShowMeCables.
-
Posted: August 29, 2017Read more »
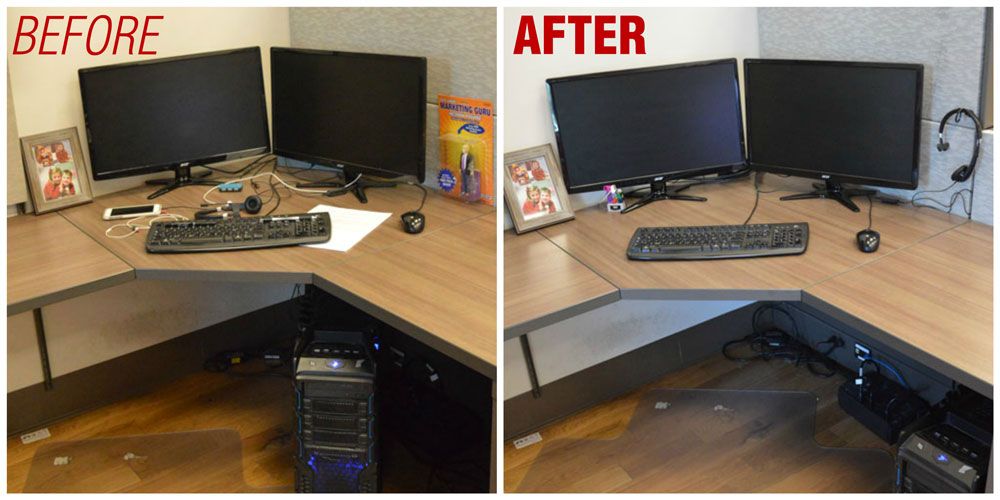
Your desktop shouldn’t cause you stress. But if you have a ton of cables getting in your way, chances are you start to feel frustrated by the end of the day. With products like Sugru on the market, the days of stray and inconveniently placed cables are behind us. In this post, I’ll show you a few ways that I streamlined my desktop’s cables.
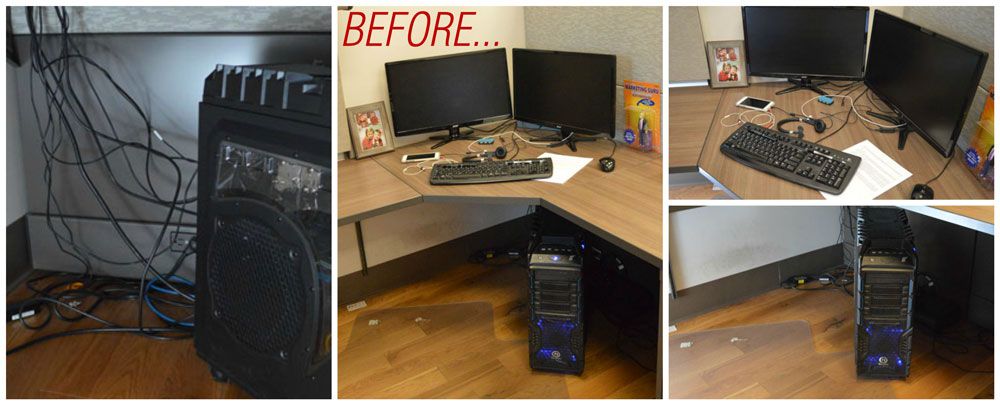
Before getting to work, you can see how messy my desk was. Underneath the desk was really the worst of it, especially since my feet could easily get caught on a cable. To start, here’s what I grabbed.

1. DVI-D Male Dual-Link Cables
2. USB 2.0 A Male to A Female Active Extension Cable
3. 3.5mm Stereo Male to Female Extension Cable
4. 6 Port USB Desktop Charger
5. 1 1/4 Inch Magnetic Bridle Rings (3)
6. LEGO mini-fig
7. 1 Inch Cable Tie Mount Pad
8. LEGO bricks
9. Super strong magnets
10. Sugru
11. Nylon cable ties
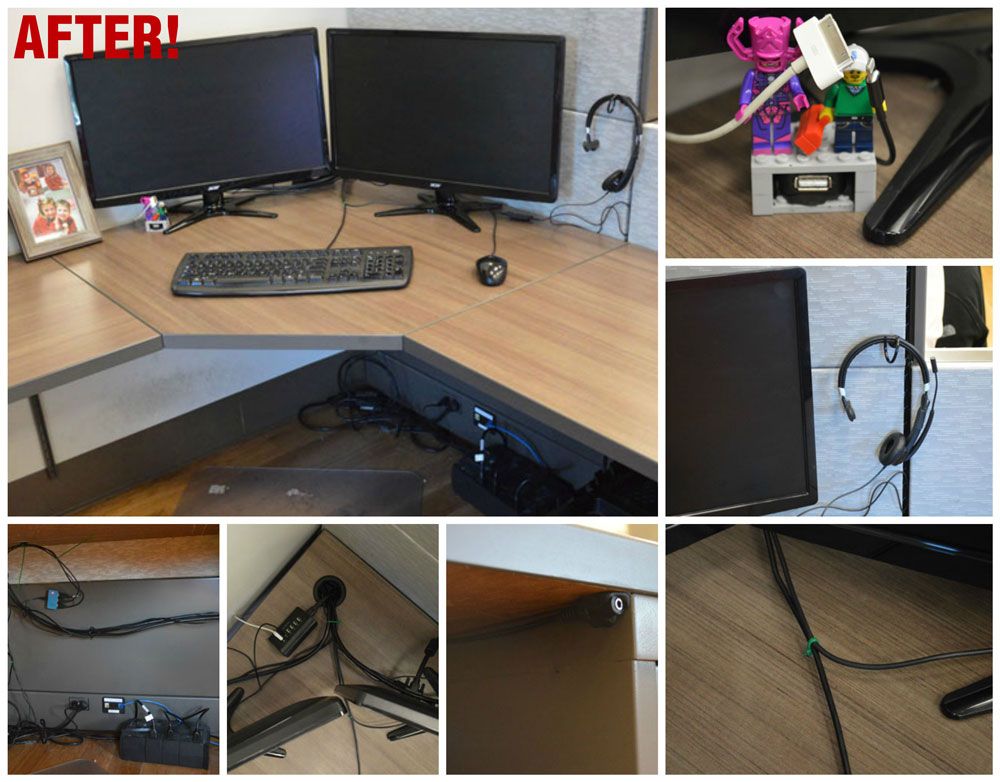
To move my tower from the center of my desk to the right side, I grabbed longer DVI cables. I also used Sugru to mount a USB hub to my cubicle to lift some of those cables off the ground. I added some magnetic bridle rings to wrangle up the cables so that they wouldn’t be freely floating around. Nylon cable ties were my best friends in this project. I used them to gather up the cords on top of my desk. A desktop charger behind my monitors makes it easier to charge my phone and tablet. I routed the cables around so that my LEGO mini-figs hold my chargers for me (how nice of them) and using LEGO bricks and Sugru, I made a little cover for my USB extender. With Sugru glue, I attached a 3.5mm extension cable under
-
Posted: August 29, 2017Read more »
We just released the latest version of the ShowMeCables’

line card. It highlights the products and
brands we offer on our website. With over 10,000
products online, this is a quick sheet that highlights
the broad types of products we offer.You can download
the line card here.
-
Posted: August 29, 2017Read more »
Ecore DuroRacks is an ever expanding line of racks, enclosures and accessories. Now you can outfit your project with these rackshelves, store your equipment in the locking cabinet, keep your cables organized with the D ring cable manager, or organize your telecom closet with the 2 post relay rack. All items are made with powder coated steel for long lasting performance and a professional appearance. When you need the same fit and function without the inflated price tag, choose Ecore Cables DuroRacks. relayrack
Relay Racks
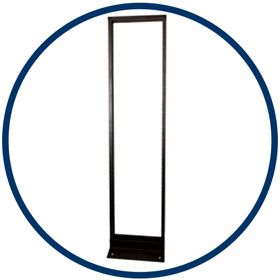
Relay racks are a lightweight, yet sturdy solution for housing networking
hardware.With 45 available rack spaces and made toan industry standard 19″ width, there is plenty of space to hold your equipment.
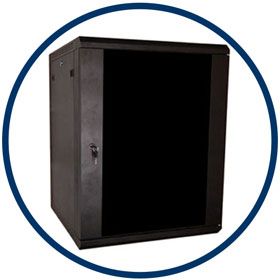
Wall Mount Cabinets
Offering an enhanced layer of security, wall mounted cabinets house and protect your networking equipment. With pre-installed rackrails, locking glass door, removable sides and fan panels, ECore DuroRacks provide high end feature at an affordable price.
 Open Frame Racks
Offering an enhanced layer of security, wall mounted cabinets house and protect your networking equipment. With pre-installed rackrails, locking glass door, removable sides and fan panels, ECore DuroRacks provide high end feature at an affordable price.
Open frame racks are an effective and inexpensive way to mount hardware to the wall. Available in 8, 16 or 20 rackspaces, 19″ wide and 12″ deep and made from powder-coated steel, they offer a lifetime of service and reliability. -
Posted: August 29, 2017Read more »
Does your rack look like this?
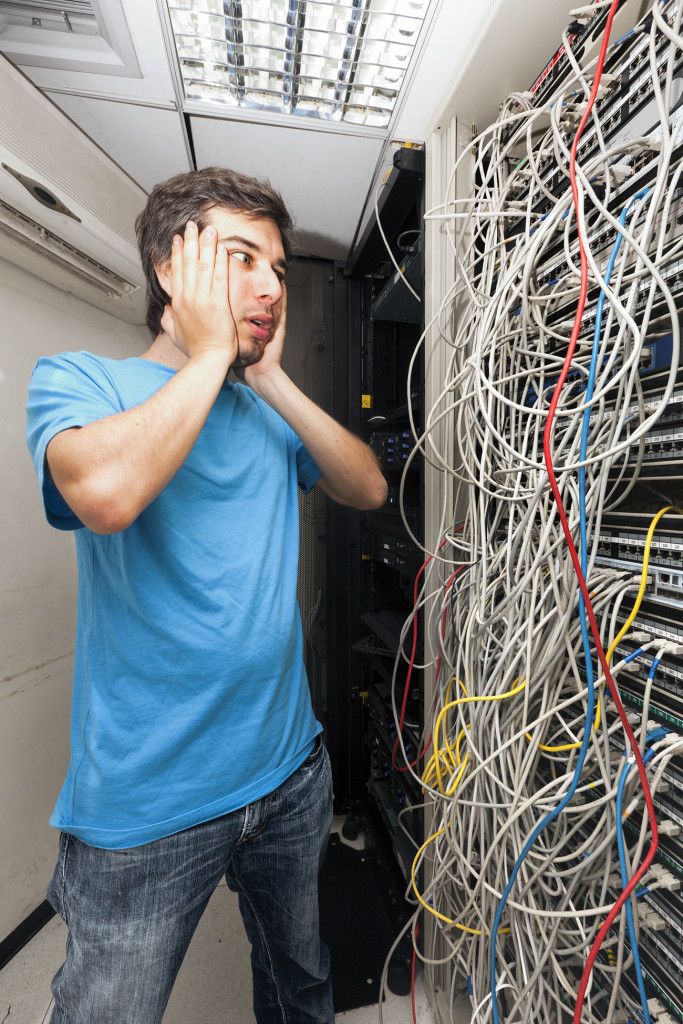
Cord spaghetti isn’t only assaulting to your eyes and dignity, it can actually impede your ability to troubleshoot IT issues. If someone is experiencing connectivity problems at their desk, pinpointing the problem can be an impossibility without labeled and organized cables. Manually tracing a line into cable hell wastes precious time at best and, at worst, drives you to the brink of insanity.
Get serious about tidying up your cables. Take the pledge now!
Step 1: Admit You Have a Problem
We get it. It’s tempting to loosely string a cable from point A to point B. It’s quick, easy, and you don’t have to deal with the real issues. But you’re only hurting yourself. The next time you need to make a patch, commit to doing it the right way. It will pay off in the end.Step 2: Clear Your Schedule
Now that you are no longer contributing to the problem, it is time to check your calendar. Block out a large chunk of time to clean up the mess. Oftentimes, you will need to work whenever the office is empty since users could lose connectivity to the network.Step 3: Make a List of Supplies
Having the right accessories is essential to a job well done. If you have the correct supplies, it’s easier to clean up and keep your site organized. Our rack clean up essentials include:
-
Posted: August 29, 2017Read more »
Last week Google announced two new devices in the Chromecast family; the Chromecast audio, for streaming audio to speakers, and a new version of their Chromecast streaming media player. We are excited about these two new products as we regularly use the original Chromecast in our office as an inexpensive digital signage solution. Since we are professed cable nerds, lets break down the cables you will need for each Chromecast.

Chromecast Audio Cables
The Chromecast ships with a standard 3.5mm male to male cable, like this:

If your audio system doesn’t use 3.5mm, you can adapt the 3.5mm out to RCA using a cable. If analog audio is not your thing, the Chromecast also supplies a digital send which requires a Toslink cable. However, not just any Toslink cable will work with the Chromecast Audio player. You will need to use a mini-Toslink to standard Toslink cable. The mini-Toslink is 3.5mm so it will fit in the same port on the Chromecast.


Essential Replacement Chromecast Audio Cables
Here are the cables you will need.
Micro USB – for powering the Chromecast
3.5mm -
Posted: August 29, 2017Categories: Network RacksRead more »
Wall mount network racks are a space saving way to mount networking equipment. When installing IT equipment in a data closet or shared space, there often is not enough space on the floor to mount a full relay rack or full size cabinet. To maximize the usable area, the IT hardware, such as switches, routers or patch panels, can be mounted on a wall mount network rack. This keeps the equipment off the floor in a nicely organized fashion.
Like any rack or cabinet, wall mount racks are configurable with many options. Here is everything you need to know to select the right network rack.
Select the Right Size
Wall mount racks are a standard 19 inches wide. This is the width of most rack mountable networking equipment. However, they come in all different heights which are measured by rack units. Rack units, abbreviated RU or U, are sometimes referred to as rack space or for short spaces. One rack unit is 1.75 inches. Choose a network rack that has enough spaces to accommodate the equipment you are installing, plus blank spaces for future expansion. The most popular sized racks 8 RU, 16 RU and 20 RU.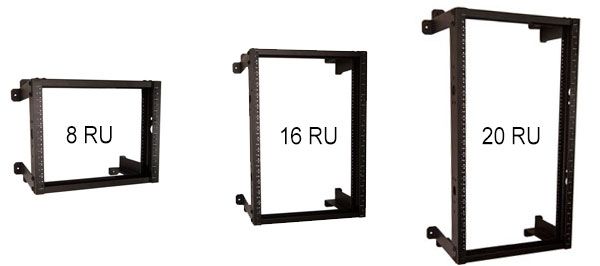
Here are the common sizes of popular networking equipment.
- Patch Panels: 1-4 rack units
- Network Switch: 1-2 rack units
- Servers: 1-4 rack units
- Blade Servers: 5-10 rack units
- UPS: 1-2 rack units
- NAS: 1-2 rack units
- PDU: 1-2 rack units
You can see how quickly your wall mount rack can fill up.
Capacity
As you install more and more equipment on your rack, you are also increasing the weight load. Make sure your rack can support the weight of all the equipment being installed. If you are unsure, you can contact the manufacturer, such as Cisco -
Posted: August 28, 2017Read more »
HDMI is the cable de jour for home theater, PC display, DSLR and other consumer electronic devices. It provides a convenient way to connect hi-def video and audio in the same cable. While prices can top out at over $2,000, we examine the moral implications of buying an expensive HDMI cable by asking, “should I buy an expensive HDMI cable?”

Conclusion
Until expensive HDMI cables become a status symbol, we recommend saving your money for other home theater components and get your HDMI cables as cheaply as possible.
